In this post, we will explain the Canva online image editing tool, which offers a huge collection of ready-made templates for: social networking sites, Christmas cards, filters, text effects, posters, frames and much more. Is that it is 100% customizable.
Canva comes with a paid release with many great features, but the free version will give you everything you need to edit and integrate your photos. When you finish editing, you can save the image on your computer or share it on social media sites. In either case, there will not be any watermarks that distort the view. Here's how to get started with this featured tool ...
Create an account on Canva
First, go to Canva, and create a free account using your email address (you can also register via Facebook or Google). Since registration is required, you will be able to access your images at any time and save your projects on the site with the possibility of reusing them without loading, or using them in other projects.

Once you register, you will receive an email with the confirmation link, and click it to complete the registration process.
Choose a free template
Scroll to the bottom of the list of templates, choose "Personnal" and select "Photos Collage", you will see the designs on the left choose one of them. Do not worry if you do not find the format that suits you, all templates can be customized only 100% Choose the closest to make it easier for you to modify.

Models are divided into categories: Music, Fashion, etc. Whatever template you choose, make sure it only has the "free" tag. Click the "Photo collage - untitled" heading at the top of the browser window to name the project, which will automatically save the project after each edit, and also make it easier to find again.
Upload the images to be merged
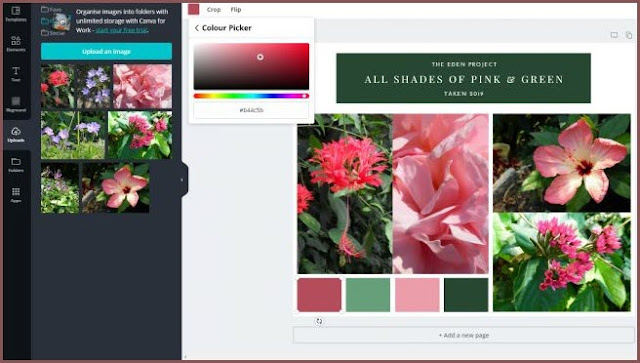
Click "Uploads" and then click "Upload Image" or drag any node directly from a desktop to the empty space, you can select a set of images at the same time, you will see a progress bar where each image is uploaded.

Once the images are on the canva site, drag them to where you want them in the assembly template. It will be resized to fit the space, and if you do not like cropping, you can click it double-click to crop it manually.
Editing colors and design
Click any element of the template (either image, shape, or text) and you'll be able to edit it. To change the color of the item, click on the thumbnail at the top and choose the color that suits you best.

You may notice that some items have been grouped together, you can edit the parts one at a time, double-click the item or press "Ungroup" and the items will be separated. To regroup, Shift-click and select the items you want to aggregate and click "Group."
Add backgrounds, shapes, and text
You can add other elements to the pasted image using the toolbar on the left, including: Frames, Graphics, and Texts. You can also recolor these items, just select any item you want and click it twice and start experimenting.

Upload and share the received image
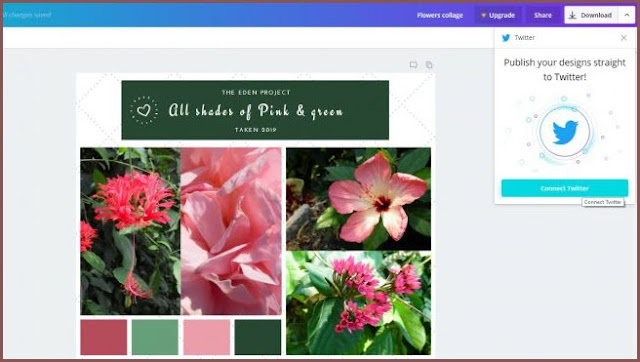
When you've finished editing, you can download the ready-to-print image by clicking the "Download" button at the top right of the window. Select the file format you want, and wait until the image is processed and the download will begin.

Alternatively, you can share your photo with your friends via email or across various social networking platforms.

